Last Updated: November 4, 2026
Quick Summary
Off-ice conditioning builds explosive power by training lower-body strength, rate of force development, and landing mechanics through plyometric drills like squat jumps, lateral bounds, single-leg hops, and box jumps. Run two to three short power sessions per week with 3 to 5 sets of 3 to 6 fast reps and 90 to 180 seconds of rest. Keep every rep explosive and stop the set when speed drops.
- Start plyometrics with squat jumps, lateral bounds, single-leg hops, and box jumps, in that order.
- Beginners spend the first four weeks learning silent landings with snap-downs before adding jump height.
- Keep each first-step drill to five to ten seconds of all-out effort followed by full rest.
- Schedule in-season power sessions at least 48 hours before a game, never the day before.
- Test standing long jump, vertical jump, single-leg hop, and five-metre sprint every four to six weeks.
Table of Contents
- Why Off-Ice Conditioning Builds Explosive Power for Hockey
- Hockey Plyometric Exercises That Transfer to the Ice
- Hockey First-Step Quickness Drills for Faster Acceleration
- Hockey Dryland Training: Sets, Rest, and Weekly Frequency
- Building a Hockey Conditioning Program Around Your Season
- Technique Cues, Landing Mechanics, and Common Mistakes
- Tracking Power Gains and Connecting Dryland Work to Skating
- Book a Skating Treadmill Session to Test Your New Power
- Frequently Asked Questions
Why Off-Ice Conditioning Builds Explosive Power for Hockey
Hockey off-ice conditioning for explosive power works because skating is a series of short, violent pushes followed by brief recovery. Your legs produce force for a second, then coast. Training that mimics this pattern builds the exact qualities you need on the ice.
Explosive power is the ability to produce maximum force in the shortest possible time. It is not the same as raw strength. A player who can squat a heavy bar slowly still may not accelerate fast.
Three things drive hockey explosiveness:
- Lower-body strength – the base that lets you push hard
- Rate of force development – how fast that strength shows up
- Landing mechanics – how well you absorb force and reload
Off-ice training targets all three without ice time. That matters in a season where ice time is limited.
The Canadian Society for Exercise Physiology notes that power training for youth athletes should emphasize movement quality before load. Skill first, then speed, then strength.
Hockey Plyometric Exercises That Transfer to the Ice
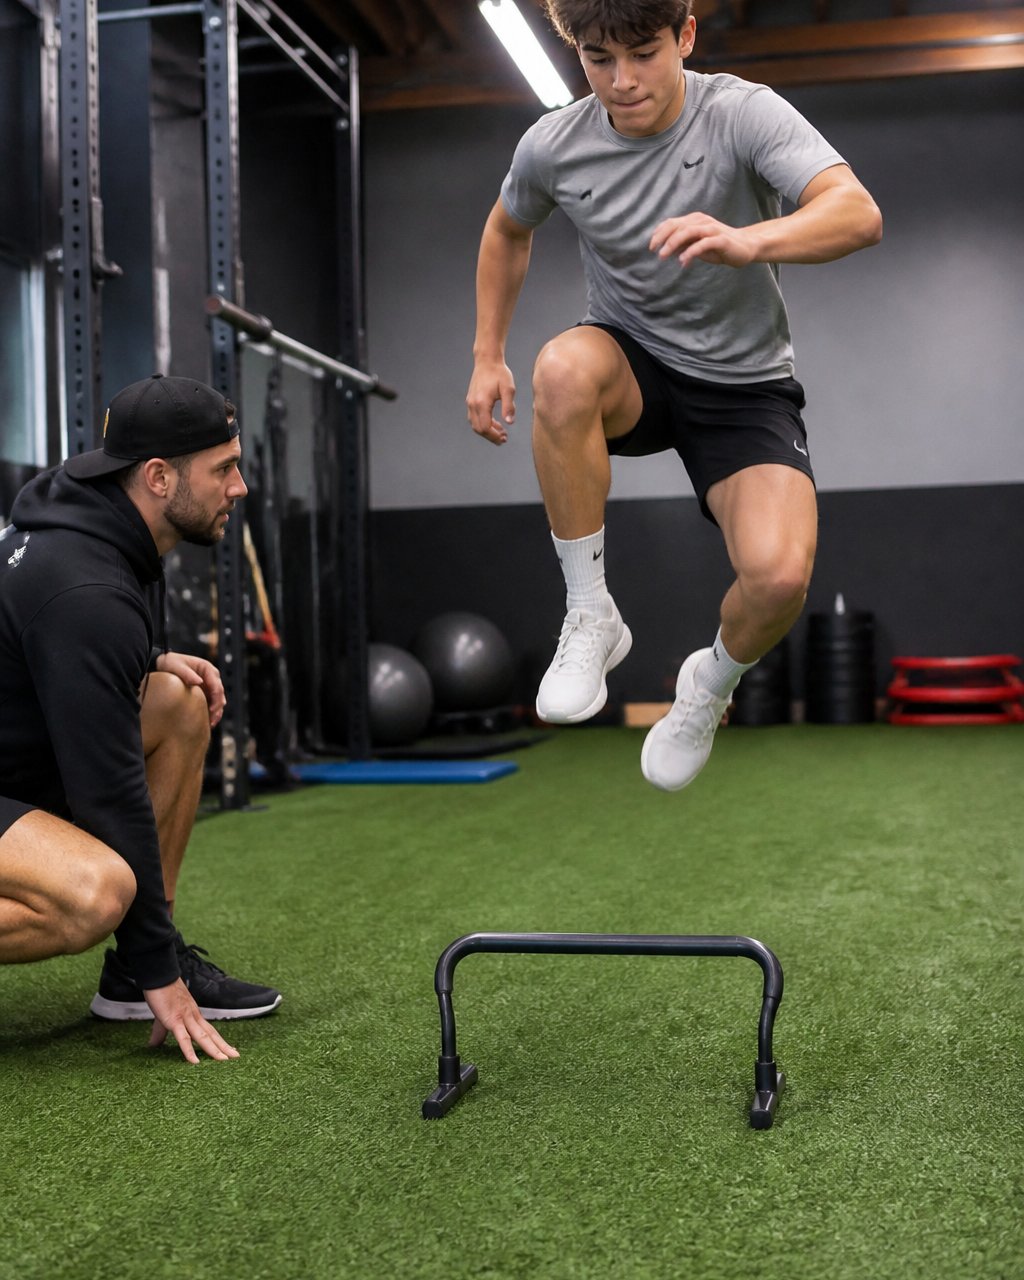
Hockey plyometric exercises are jump-based drills that train your muscles to stretch and contract fast. They build first-step acceleration and crossover power because they copy the quick loading pattern of a skating stride.
Start with these four, in this order:
- Squat jumps – stand tall, dip, jump straight up, land soft. 3 sets of 5.
- Lateral bounds – push off one leg, land on the other, hold for a beat. 3 sets of 4 per side.
- Single-leg hops – hop forward on one foot, stick the landing, reset. 3 sets of 5 per leg.
- Box jumps – jump onto a low box, step down. Never jump down. 3 sets of 5.
Progressions and regressions by age and experience
Use this three-stage ladder for every drill above:
- Stage 1 – Learn the landing (beginners, younger players, first four weeks). No jump height. Do snap-downs: stand tall, dip to a quarter squat, freeze for two seconds, stand. Two sets of six. Add a small hop only when the freeze is silent and knees stay over toes.
- Stage 2 – Add speed (players who land quietly and balanced). Full jumps at moderate height, 3 sets of 5, with a two-second stick on every landing. Lateral bounds move from a hold to a continuous side-to-side rhythm.
- Stage 3 – Add load or distance (experienced players with clean mechanics). Increase box height in small steps, add a second bound in sequence, or move to single-leg landings from a low box.
Coaching cues that fix the most common errors
Use the same four cues on every jump so the message stays consistent:
- Land like a cat – soft knees, no thud.
- Knees track over toes – never cave inward.
- Hips back, chest up – absorb through the whole leg.
- Stick the landing for two seconds before the next rep.
Watch out: players rush to add height before they own the landing. A wobbly, loud landing means the drill is too hard. Drop the height or slow down rather than pushing through. The transfer to the ice comes from the landing, not the jump. A soft, quiet landing teaches your leg to reload for the next push, which is the same skill as recovering from a stride and loading the next crossover.
Hockey First-Step Quickness Drills for Faster Acceleration
Hockey first-step quickness drills train the first two strides out of a stop. That burst decides races to loose pucks and breakaways.
These drills pair well with hockey speed training that focuses on stride mechanics and repetition:
- Wall pushes – lean into a wall, drive one knee up hard, 5 reps per leg
- Split-stance starts – from a staggered stance, explode forward three steps
- Resisted sprinting – a partner holds a band at your waist while you drive
- Sled pushes – short, heavy pushes for 5 to 10 metres
Keep each rep short. Five to ten seconds of all-out effort, then full rest.
The goal is quality, not fatigue. A tired rep teaches slow movement. Stop the set the moment speed drops.
Hockey Dryland Training: Sets, Rest, and Weekly Frequency
Hockey dryland training works best at two to three power sessions per week. More is not better. Power training is high-intensity, so your nervous system needs recovery between sessions.
Use this simple structure:
| Element | Guideline | Why It Matters |
|---|---|---|
| Sets per exercise | 3 to 5 | Enough volume to adapt, not enough to fry |
| Reps per set | 3 to 6 | Keeps each rep fast and clean |
| Rest between sets | 90 to 180 seconds | Restores power for the next set |
| Sessions per week | 2 to 3 | Allows full recovery |
| Session length | 30 to 45 minutes | Short and focused |
A common mistake is turning power days into conditioning days. If you are gasping between sets, you are training endurance, not explosiveness.
Keep the work-to-rest ratio high. One short burst, then a long pause. That is how you train the fast-twitch fibres that drive a hard stride.
Building a Hockey Conditioning Program Around Your Season
A hockey conditioning program should change with the calendar. What builds power in July will bury you in January if you keep the same load. Most articles describe phases in a sentence. The useful version is a weekly template you can actually run, with the power work placed so it does not fight your ice time. A weekly template also needs to distinguish power work from conditioning volume, since metabolic conditioning workouts can add fatigue that changes how much explosive work you can recover from.
Off-season (roughly May to August): highest volume. Three power sessions a week, plus two strength sessions and aerobic base building. Put power work first in the session, before strength or conditioning, while the nervous system is fresh. These off-season training at home hockey tips help you keep building power away from the facility.
Pre-season (roughly late August to October): shift toward speed. Two power sessions, more sprinting and change of direction, and cut strength volume by about a third so legs are fresh for tryouts and exhibition games.
In-season (October to March): maintain, do not build. One or two short power sessions a week keep the gains without adding fatigue. Schedule them at least 48 hours before a game, and never the day before.
Playoffs: cut volume, keep intensity. One short session a week of low-rep, high-quality jumps preserves explosiveness without leaving legs heavy.
A weekly template you can copy
| Day | Off-season | In-season |
|---|---|---|
| Monday | Power session (jumps + bounds) | Power session, 20 minutes |
| Tuesday | Strength | Ice or rest |
| Wednesday | Aerobic base | Ice or rest |
| Thursday | Power session | Ice or rest |
| Friday | Strength | Power session, 20 minutes (48 hours before game) |
| Saturday | Speed and agility | Game |
| Sunday | Rest | Rest |
Deload and fatigue rules
Deloading every fourth week in the off-season, dropping sets by half while keeping intensity, is one common approach. If jump quality drops two sessions in a row, treat it as a fatigue signal and cut a set rather than pushing through.
The throughline here is simple: match the training to the season, not to your enthusiasm, and place power work where it will not compete with your best ice sessions.
Technique Cues, Landing Mechanics, and Common Mistakes
Landing mechanics decide whether plyometrics build power or cause injury. A good landing is quiet, balanced, and knee-tracked over the toes.
Use these cues on every jump:
- Land like a cat – soft knees, no thud
- Knees track over toes – never cave inward
- Hips back, chest up – absorb through the whole leg
- Stick the landing for two seconds before the next rep
The mistakes we see most often:
- Chasing height before mastering the landing
- Letting knees collapse inward on landing
- Doing plyometrics on a hard gym floor with no cushioning
- Skipping the warm-up and going straight into jumps
A proper warm-up takes eight to ten minutes. Raise your heart rate, move the hips and ankles through range, then do two easy sets of the first drill.
The Government of Canada physical activity guidance supports a gradual build in intensity for youth athletes. Progress slowly and let technique lead.
Tracking Power Gains and Connecting Dryland Work to Skating
Tracking power gains turns guesswork into proof. Test the same drills every four to six weeks and write the numbers down. This guide on measuring hockey skating speed improvement shows how to verify progress.
Simple tests you can run yourself:
- Standing long jump – measures horizontal power
- Vertical jump – measures explosive leg drive
- Single-leg hop distance – shows left-right balance
- Five-metre sprint time – measures first-step quickness
When your jump numbers climb, your skating should follow. For a deeper look, see this guide on how to improve hockey skating speed. A stronger push-off means a longer stride and faster acceleration.
The real test is on skates. If your dryland numbers rise but your skating does not, the missing link is usually technique.
Book a Skating Treadmill Session to Test Your New Power
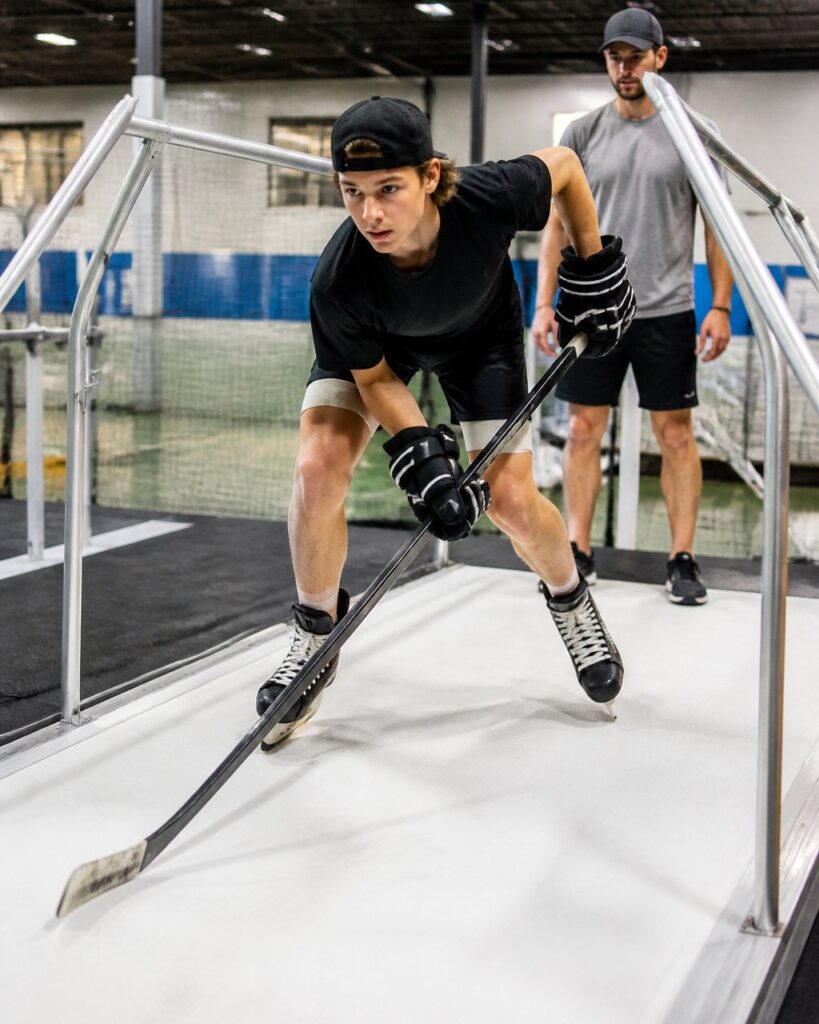
Dryland work builds the engine. The skating treadmill is where you prove it transfers.
At Pro Stride Hockey, we use a 2:1 player-to-coach ratio and cap sessions at four players. Our video analysis and shooting lane facility support your development, and our partnership with the Tim Turk training program adds to the program.
One parent told us her son “perfected his stride and my daughter gained confidence with her ringette shot.”
Ready to see your progress on the ice? Book a skating treadmill session with a coach beside you.
Frequently Asked Questions
How can hockey players build explosive power off the ice?
Build explosive power with a mix of plyometrics, lower-body strength work, and short sprint efforts done two to three times per week. Focus on quality over quantity: jump and land with control, keep sets short, and rest fully between efforts. Pairing off-ice conditioning with skating treadmill work helps transfer that power into a faster stride.
What exercises improve a hockey player’s first-step quickness?
Hockey first-step quickness drills include resisted starts with a band or sled, lateral crossover steps, and short 3-to-5-metre accelerations from a hockey stance. Do 4 to 6 reps per set with full recovery so every rep is fast. These drills teach the body to push hard through the first two strides, which is where most races for the puck are won.
Are plyometrics good for hockey players?
Yes, when progressed safely. Hockey plyometric exercises like squat jumps, lateral bounds, and single-leg hops train the fast, explosive contractions used in skating. Start with low-intensity hops and focus on soft, quiet landings before adding height or distance. Young or newer athletes should master landing mechanics first, then add volume gradually.
How often should hockey players do off-ice conditioning?
Two to three sessions per week is a practical starting point for most youth players, with at least one rest day between power sessions. During the season, reduce volume and keep one short power session to maintain gains. Off-season is the time to build a broader base with more frequent dryland training and progressive loading.
