Table of Contents
- Why Measuring Hockey Skating Speed Matters
- Setting Up a Repeatable Hockey Skating Speed Test
- Key Metrics: Stride Length, Stride Frequency, and Acceleration
- Hockey Skating Progress Tracking: Building Your Testing Schedule
- Hockey Skating Acceleration Drills That Show Up in Test Results
- How Hockey Skating Treadmill Training Supports Measurable Gains
- Interpreting Results and Connecting Them to Training Decisions
- Conclusion
- Frequently Asked Questions
Last Updated: October 17, 2026
Why Measuring Hockey Skating Speed Matters
Most players think they’re getting faster. Few can prove it. Measuring hockey skating speed improvement turns a feeling into a fact you can act on, and that difference changes how you train.
Here’s the core problem: speed gains are small and gradual. A tenth of a second over 15 metres is real progress, but it feels like nothing. Without a baseline, you can’t tell a genuine stride change from a good day on the ice.
So we test. We time. We write it down. That’s the whole method.
Hockey skating speed is the rate at which a player moves across the ice, shaped by stride mechanics, edge control and acceleration. It is not one skill. It is several, and each one can be measured.
If you only track one thing this season, track a timed sprint from a standing start. It’s the simplest number that reflects real skating speed.
Setting Up a Repeatable Hockey Skating Speed Test
A hockey skating speed test only means something if you run it the same way every time. Change the distance, the surface or the rest period, and your numbers stop comparing. Repeatability is the entire point, and most players who think they are testing are really just skating hard and guessing.
Below is a protocol you can run at almost any rink, plus the trade-offs between timing methods so you know how much trust to place in each number.
Choosing Your Test Distances and Timing Method
Pick two distances and stick with them all season:
- Short sprint: 15 metres, from a standing start, for acceleration
- Longer sprint: 30 metres, for top speed and stride maintenance
Fifteen metres is long enough to reward a real first-three-strides push but short enough that a single bad start doesn’t bury the result. Thirty metres lets a skater reach and hold top speed, which is where stride length and frequency show up.
Timing options, from simplest to most precise:
| Method | Setup | Strengths | Limitations |
|---|---|---|---|
| Hand stopwatch | One timer, one starter | Free, portable | Reaction-time error of roughly 0.1-0.3 seconds per rep |
| Phone slow-motion video | Phone on a tripod at the finish line | Freeze-frame review, doubles as technique footage | Frame-rate limits precision; needs a clear visual marker |
| Timing gates | Two gates, one at start, one at finish | Removes human reaction error | Cost and access; needs a facility that owns or rents them |
| Wearable tracker | Sensor on the skater | Captures splits and stride data | Accuracy varies by device and placement; treat trends, not absolutes |
A careful hand-timer is fine for tracking trends, but be honest about the error. If your stopwatch is off by a tenth or two on any given rep, a 0.05-second “gain” is noise, not progress. Timing gates remove that problem, which is why facilities that have them should use them for baseline and retest days.
Controlling Variables for Reliable Results
Same ice, same gear, same warm-up, same rest between reps. Test at the same point in the session, ideally after a full warm-up and before fatigue sets in.
A workable standard:
- Start: Standing start, front foot at the line, no rocking or false starts. Use the same start cue every time (a whistle or a count).
- Rest between reps: Two to three minutes of easy gliding. Short rest turns the test into a conditioning drill and inflates your times.
- Trials: Three reps per distance, keep the best time, and note the spread. A wide spread between reps means the test conditions were unstable.
- Order: Run the short sprint first, then the longer one, every time. Reversing the order changes the fatigue picture.
- Ice and gear: Log ice condition, skate sharpening and any gear changes. A short note like “soft ice, fresh sharpen” explains a strange result later.
Run the whole protocol in under 20 minutes so it fits inside a normal session and doesn’t become a reason to skip retesting.
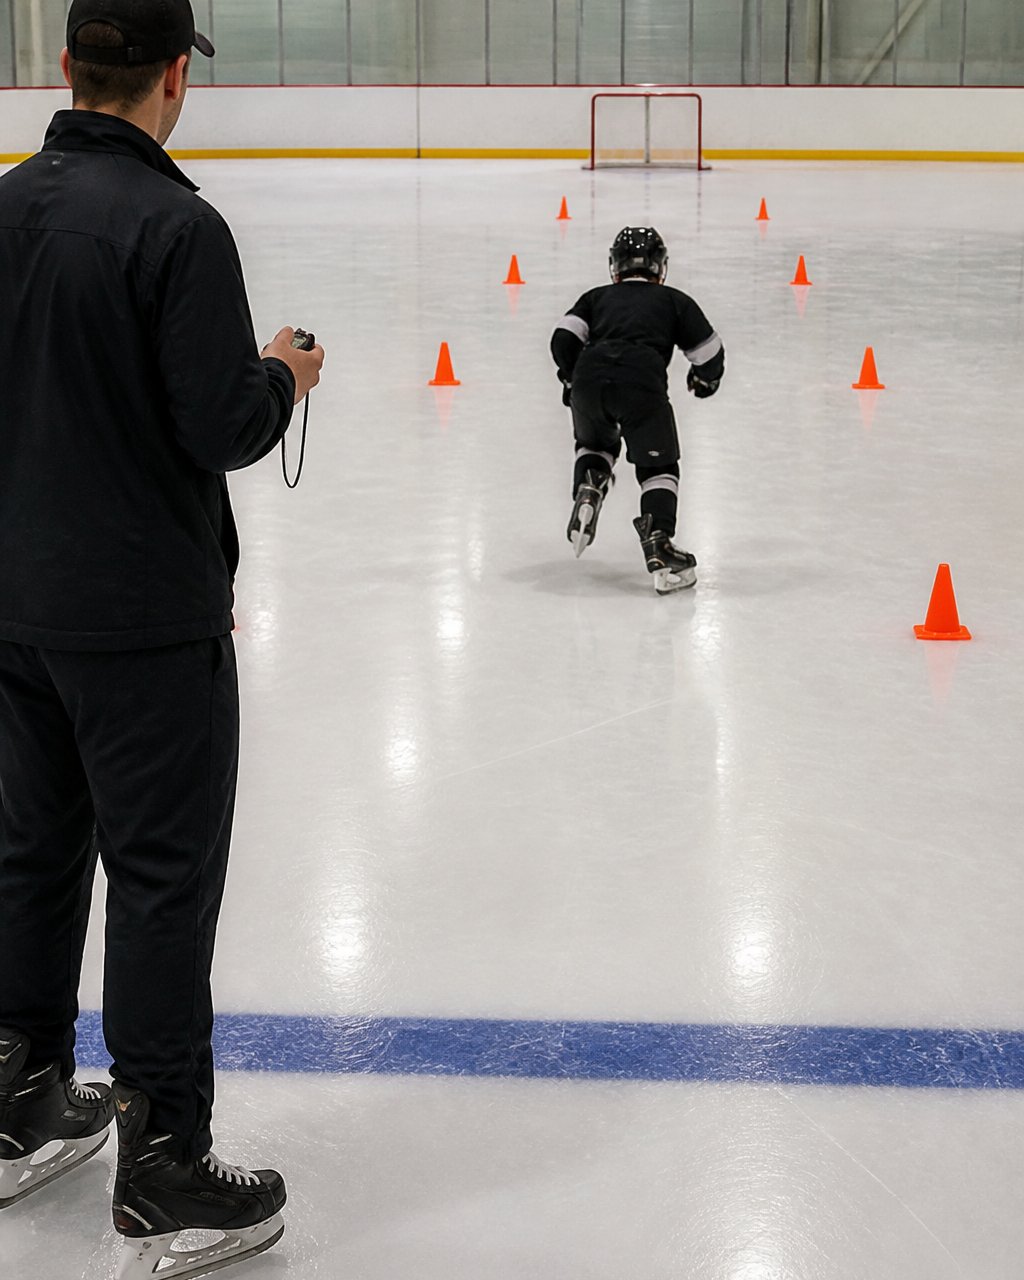
Record the exact distance, start cue and rest period on the same page as your times. If you can’t reproduce the setup, you can’t compare the numbers.
Key Metrics: Stride Length, Stride Frequency, and Acceleration
Three numbers explain almost every speed change: stride length, stride frequency and acceleration. Stride length is how far each push carries you. Stride frequency is your strides per minute. Acceleration is how fast you reach top speed from a stop.
These trade off against each other. A longer stride can slow your turnover. Higher turnover with short, choppy pushes wastes energy. The best skaters find the balance that fits their build and position.
Watch for these in your video:
- Stride length: Does the push fully extend, or cut short?
- Stride frequency: Count strides over the timed distance
- Acceleration: Compare your 15-metre and 30-metre times
Hockey Skating Progress Tracking: Building Your Testing Schedule
Hockey skating progress tracking works best on a simple rhythm: test, train, retest. We recommend a baseline test in the first week, then a retest every four to six weeks through the season.
Here’s a schedule that holds up in practice:
| When | What to Test | Why |
|---|---|---|
| Week 1 | 15 m + 30 m sprint, video | Baseline |
| Week 5 | Same tests, same setup | First checkpoint |
| Week 9 | Same tests | Mid-block review |
| Week 13 | Same tests + stride count | Full review |
Keep one page per player. Date, distance, best time, notes. That’s your tracking template, and it beats any app you’ll forget to open.
Film the same sprint from the same angle every test. Side-on at hip height shows stride length and edge use clearly, and the video becomes your second set of data.
Hockey Skating Acceleration Drills That Show Up in Test Results
Acceleration drills only count if they move your timed numbers. The best ones train the first three strides, where most short-distance speed is won or lost.
Try these, and retest after four weeks:
- Standing-start sprints: Three strides, full push, repeat. Focus on the first step.
- Resisted starts: A partner holds light resistance for two strides, then releases.
- Crossover starts: Open up from a stop with a crossover to build speed on an angle.
- Treadmill stride intervals: Short bursts at high resistance to groove the push-off.
The connection between drill and test is the whole game. If a drill never shows up in your 15-metre time, it isn’t working for you.
How Hockey Skating Treadmill Training Supports Measurable Gains
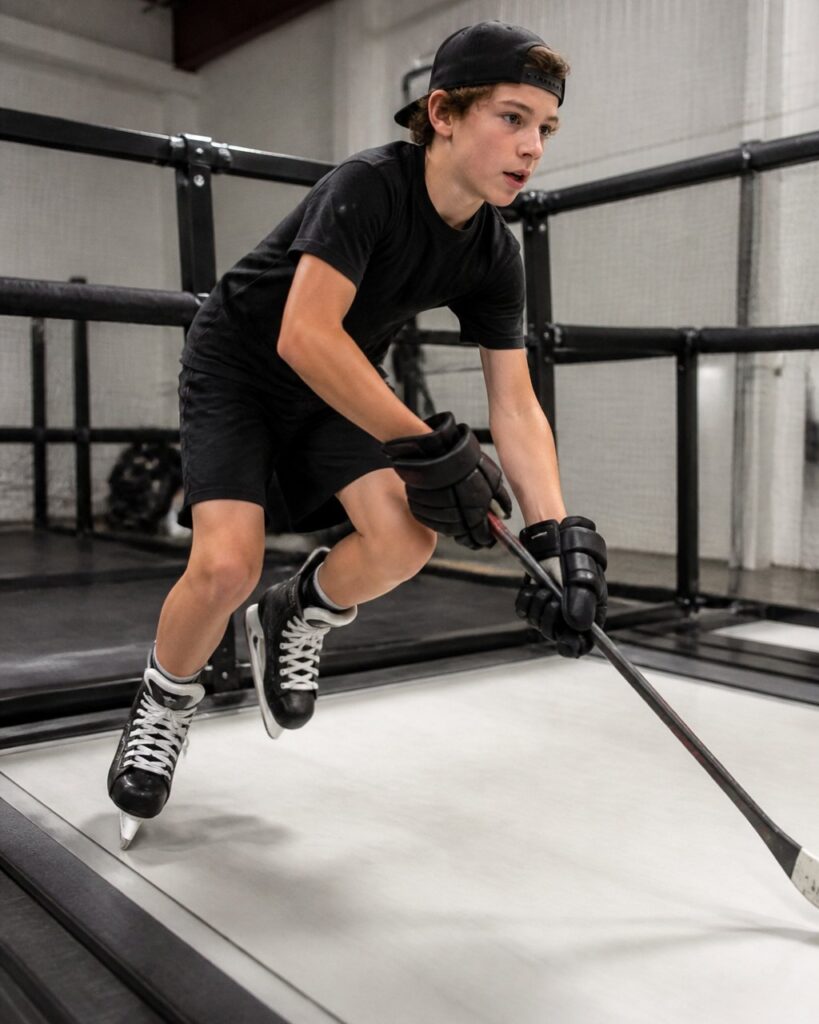
Hockey skating treadmill training gives you something the ice can’t: repetition without weather, ice quality or space limits. A skating treadmill lets a player groove the same stride hundreds of times under a coach’s eye.
That repetition is why it shows up in test results. On a treadmill, a coach can slow the belt, correct the push-off, then rebuild speed. Video analysis captures the change frame by frame. At Pro Stride Hockey, our 2:1 player-to-coach ratio means every stride gets watched and corrected, not just counted.
One skater put it plainly: “I’d never been on a skate treadmill before and Adrienne taught me a lot about stride efficiency.” That efficiency is what the retest measures.
Don’t chase speed on the treadmill at the cost of technique. Bad reps at high speed just groove bad habits, and your test numbers will stall within a few weeks.
Interpreting Results and Connecting Them to Training Decisions
A faster time is good news. Knowing why it got faster is better. Read your results against the three metrics, then let the data pick your next training block.
Calculating Change and Separating Progress from Noise
Don’t compare raw seconds across distances. Convert every result to a percentage change so a 15-metre gain and a 30-metre gain can be read side by side:
Percentage change = (new time − old time) ÷ old time × 100
A drop from 3.20 to 3.10 seconds is about a 3 percent improvement. A drop from 5.00 to 4.90 is about 2 percent. Now you can see which distance moved more.
Reading the Pattern
Meaningful improvement is steady, not dramatic. A small, consistent drop across several retests beats one big jump you can’t repeat. Age and level matter too: younger skaters often improve quickly as coordination catches up, while older athletes need technique work to move the needle. There is no single benchmark that fits a peewee player and a competitive ringette skater, so compare each athlete to their own baseline first.
From Result to Training Decision
Map the pattern to a training response:
| Result pattern | Likely need | Training response |
|---|---|---|
| Short sprint improves, long sprint flat | Acceleration is responding; top speed isn’t | Add longer stride-maintenance intervals |
| Long sprint improves, short sprint flat | Top speed is fine; starts are weak | Standing-start and first-three-strides work |
| Both flat, video shows short pushes | Stride mechanics | Technique-focused stride work at controlled speed |
| Both flat, video looks clean | Conditioning or recovery | Check training load and rest before adding volume |
Players who’ve plateaued on the ice and need a controlled setting to rebuild stride mechanics before retesting.
Conclusion
That’s exactly how we work at Pro Stride Hockey. Our 2:1 player-to-coach ratio, comprehensive video analysis and skating treadmill sessions give every athlete a measured path to a faster stride. Book Now and get a baseline test that tells you where you actually stand.
Frequently Asked Questions
How can you measure improvement in hockey skating speed?
Use a repeatable timed test with the same timing method. Record each result in a simple log alongside the date and any training changes. After four to six weeks, compare your splits. A consistent drop in time across multiple tests shows real hockey skating speed improvement rather than a one-off good day.
What is a good test for hockey skating speed?
Time each with the same method every session, whether that is a stopwatch, timing gates, or video review. Consistency matters more than the specific distance.
How often should hockey players retest their skating speed?
Retest every four to six weeks during a training block, and again at the start and end of the season. Keep the same warm-up, the same course, and the same timing method each time. Log results in a simple spreadsheet so you can see trends rather than reacting to a single session.
How can a skating treadmill help track skating progress?
A skating treadmill lets players repeat stride mechanics in a controlled setting where a coach can watch edge control, stride length, and recovery on every repetition. Because the surface and speed are consistent, it is easier to compare sessions and spot technique changes that later show up in on-ice tests. At Pro Stride Hockey, video analysis alongside treadmill work helps players connect what they feel to what the stopwatch records over time.