Table of Contents
- What Hockey Video Analysis Is and Why It Matters for Youth Players
- How to Analyze Hockey Game Footage: A Shift-by-Shift Approach
- Using a Hockey Video Review Checklist to Stay Focused
- Identifying Strengths and Areas for Improvement in Game Footage
- Hockey Video Analysis Software and Tools for Youth Players
- Converting Video Observations Into On-Ice Drills and Practice Goals
- Hockey Video Analysis Examples: What to Look For in Real Game Situations
- Common Mistakes to Avoid When Reviewing Youth Hockey Video
- Frequently Asked Questions
Last Updated: October 5, 2026
What Hockey Video Analysis Is and Why It Matters for Youth Players
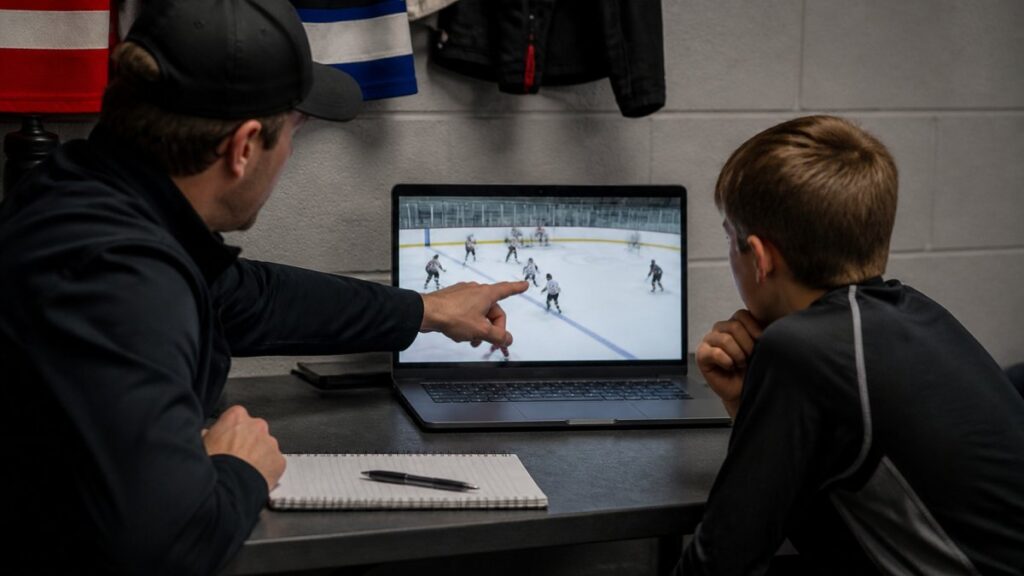
Hockey video analysis for youth players means systematically reviewing game footage to identify strengths, weaknesses, and patterns in individual and team play.
For youth hockey players, the game moves fast.
At Pro Stride Hockey, we use hockey video analysis for youth players as a core part of player development. Players who improve steadily see what they’re actually doing; those who plateau assume. Video closes that gap.
The real value isn’t watching yourself play, it’s converting what you see into specific, measurable improvements. A player reviews a shift, identifies slow transitions, then drills that exact movement in practice.
How to Analyze Hockey Game Footage: A Shift-by-Shift Approach
The most effective way to review game footage is shift by shift rather than watching entire periods. A typical youth hockey shift lasts 40-60 seconds, a manageable unit to analyze in depth.
Watch your shift once at full speed for the overall feel, then rewind and watch at half speed or slower. That’s where patterns emerge and you notice what you missed at game speed.
As you watch, ask: Where did I start? What was my first move? Did I support the puck or chase it? When did I lose position? What happened when the other team got the puck?
Breaking shifts into chunks prevents analysis fatigue. You’re studying specific moments where decisions and mechanics matter most, not memorizing an entire game.
Setting Up Your Video: Camera Angles and Footage Quality
Footage quality directly affects what you can learn.
The best single angle is from behind the goal line at the opposite end from where play is happening.
With multiple cameras, film from at least two positions: behind the goal line and from the side. Side angles better show skating stride mechanics and skill execution like passing or shooting.
Phone cameras work, but stabilization is critical, use a tripod or mount. Shaky footage makes it hard to track movement and identify technical details.
Lighting matters too. Outdoor rinks bring glare and shadows; indoor rinks are more consistent, but keep the camera away from boards and glass reflections.
Breaking Down Individual Shifts
Once you’ve selected a shift, watch it multiple times from different angles if available. The first viewing answers the big question: what was my job on this shift, and did I accomplish it?
The second viewing focuses on positioning: Where did you start? Did you support the puck or teammates? When and why did you get out of position?
The third viewing examines specific actions. With the puck, did you make a good decision or a rushed one? Without it, were you ready to receive or supporting a teammate who was?
Look for patterns across shifts. Consistently late to the puck? Address it in practice. Same passing mistake twice? That’s a specific skill to work on.
Using a Hockey Video Review Checklist to Stay Focused
A structured checklist keeps video analysis productive instead of random, giving you a consistent way to evaluate performance and track progress over time.
Here’s a practical checklist for reviewing each shift:
- Starting position: Did I begin the shift in the right spot?
- First movement: Was my initial action purposeful or reactive?
- Puck support: Did I move to support the puck carrier or stay static?
- Transitions: How quickly did I transition from offense to defense or vice versa?
- Positioning gaps: Were there moments I was out of position? If so, why?
- Decision-making: Did I make good decisions with the puck or when supporting play?
- Skating mechanics: Did my stride break down under pressure or fatigue?
- Off-puck movement: Was I active away from the puck or watching?
- Communication: Did I call for the puck or direct teammates?
- Effort level: Did my intensity drop at any point in the shift?
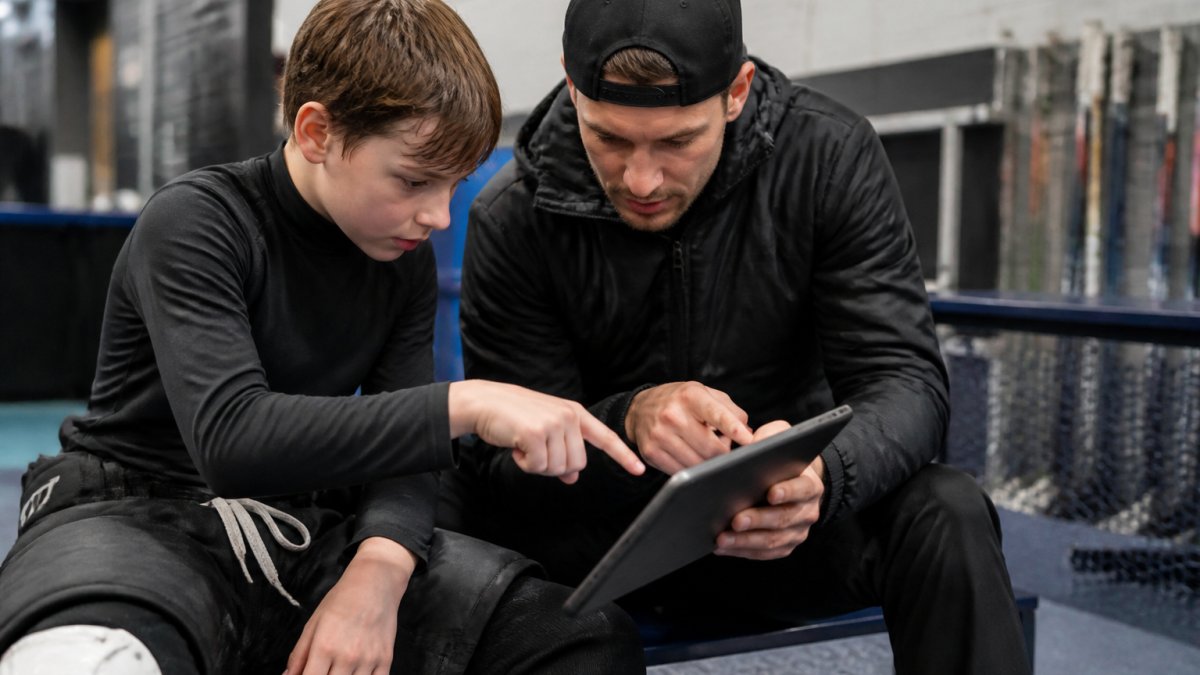
Using the same checklist every shift creates consistency. After five or ten shifts, patterns emerge, maybe you’re strong in transitions but weak in off-puck positioning. That data becomes your practice priorities for the week.
Identifying Strengths and Areas for Improvement in Game Footage
Video analysis reveals what you do well and where you need work. The key is honesty about what you see, not excuses.
Start by naming one clear strength from your footage, quick offense-to-defense transitions, consistent puck support, high passing accuracy. This isn’t false confidence; it’s recognizing what works so you keep doing it.
Next, identify one clear area for improvement you see repeatedly, not a one-time mistake: consistently late to loose pucks, first passes to dangerous spots, or lost balance during transitions.
The difference between a strength and an area for improvement is consistency: both show up across multiple shifts. One-time errors don’t count as patterns; patterns do.
Evaluating Skating Stride and Edge Work
Skating mechanics are invisible at full speed but obvious on video. Watch your stride when cruising, accelerating, stopping, and changing direction.
A strong stride keeps knees bent throughout, transfers weight smoothly between legs, has a powerful, complete push-off, and recovers quickly so you’re ready for the next stride.
Breakdowns show clearly on footage: knees straighten (losing power), push-off turns choppy or incomplete, weight shifts too early or late.
Edge work is how you use your skate blade edges.
Watch your stride in high-demand moments, battling for the puck, accelerating into open ice, stopping hard. These reveal your true mechanics under pressure, so practice the situations where they break down most.
Assessing Positioning, Off-Puck Movement, and Tactical Decisions
Positioning wins or loses games at youth level. A player in the right spot with average skill beats a skilled player out of position almost every time.
Watch your positioning relative to the puck and teammates. With the puck, are you creating space or congesting it, and can you receive a pass or support play?
Off-puck movement is what you do without the puck. Strong players constantly reposition, support, and create options; weak off-puck movement looks like standing and watching. Video makes this clear.
Watch how experienced teammates make these decisions and compare your choices to theirs, video makes the comparison obvious.
Reviewing Individual Skills: Passing, Shooting, and Stickhandling
For passing, watch where the puck goes relative to your teammate’s position and movement. A good pass lets them make a play; a poor one forces an adjustment or creates a turnover.
For shooting, watch your release point, follow-through, and where the puck ends up. Do you shoot from strong spots? Is your release quick or telegraphed? Does the puck go where you aimed?
For stickhandling, watch whether you control the puck or it controls you. Strong stickhandling moves the puck away from defenders into space; weak stickhandling looks like fighting the puck or losing it to pressure.
Hockey Video Analysis Software and Tools for Youth Players
Video analysis doesn’t require expensive software. Many youth players and families start with basic tools and upgrade as they get more serious.
A smartphone or tablet with basic editing software suffices for most youth players. Most phones include slow-motion playback, so you can pause, rewind, and review without extra tools.
Dedicated hockey video analysis software adds features: drawing on footage, annotations, side-by-side comparisons, and organizing clips by player or game.
At Pro Stride Hockey, we use advanced video analysis in our coaching.
When choosing tools, decide whether you need basic playback or advanced annotation.
The most important factor isn’t the software, it’s reviewing footage regularly and translating what you see into practice priorities.
Converting Video Observations Into On-Ice Drills and Practice Goals
Watching video is only useful if it changes how you practice. The real work happens when you drill what you learned on the ice.
After reviewing your shifts, identify one specific area to improve.
Design a drill isolating that movement: practice transitions without the puck first, focusing on footwork and body position, then add the puck, then a defender.
The video-practice connection is critical. Reviewing footage without practicing the movement won’t improve anything, and practicing without understanding why is slow.
Track progress by reviewing the same situations next game: did transitions improve? Did you reach the puck faster? Video measures whether practice is translating to performance.
Hockey Video Analysis Examples: What to Look For in Real Game Situations
Knowing what to look for in different game situations helps you analyze your own footage. Common situations and what matters in each:
Offensive zone with the puck: check spacing. Clustered players create turnovers; spread players create passing options. Also watch how long the puck carrier holds it, quick movement beats slow movement.
Defending: check positioning relative to opponents. Between them and the goal is defense; on their hip is chasing. Watch how quickly you transition from offense to defense, the fastest team usually wins the battle.
Loose puck: who gets there first? Speed to the puck determines possession, so watch your first step, a quick one beats a slow one.
One-on-one: watch your positioning and decision. Are you giving space or closing down? Forcing the opponent outside or letting them cut inside? Your decision determines what happens next.
These situations repeat constantly. Mastering them through video analysis and practice creates consistent improvement.
Common Mistakes to Avoid When Reviewing Youth Hockey Video
The most common mistake is reviewing video without specific focus, watching the whole game and noticing random things. That’s passive viewing, not analysis.
Another mistake is making excuses. You watch a bad pass and blame the other player for not being in the right spot.
Reviewing only good plays is another trap. Highlights feel great but teach nothing. Learning happens when you study mistakes and inconsistencies.
Comparing yourself to elite highlight reels is demoralizing and unproductive. Compare yourself to your own footage from two weeks ago, the only comparison that matters. Did you improve?
Not sharing your analysis with your coach is a missed opportunity.
Finally, reviewing video once and expecting improvement is unrealistic.
Reviewing your own game footage transforms how you develop as a hockey player. At Pro Stride Hockey, we’ve built our coaching approach around this principle: objective video feedback combined with deliberate practice creates measurable improvement in skating speed, enhanced goal-scoring ability, and increased athletic confidence. That’s where real improvement begins. Book Now to work with our coaching team and integrate video analysis into your development program.
Frequently Asked Questions
How often should youth hockey players review video?
Aim for a structured review session after every 3-5 games, or weekly during the competitive season. This frequency allows players to spot patterns in their performance, habits in positioning, stride mechanics, and decision-making, without becoming overwhelming. Shorter 15-20 minute focused reviews are more effective than occasional long sessions. Consistency matters more than duration; regular feedback accelerates skill development and builds self-awareness on the ice.
What should a young hockey player look for when reviewing game footage?
Focus on three areas: skating mechanics (stride efficiency, edge work, transitions), positioning and awareness (where you are relative to the puck and teammates), and decision-making (pass vs. shoot, when to forecheck). Use a hockey video review checklist to stay organized. Start with one strength and one area for improvement per shift. Avoid critiquing every touch; instead, identify patterns across multiple shifts that repeat in similar game situations.
How can parents help a youth hockey player review game footage?
Watch the footage together without judgment, asking open-ended questions: ‘What did you notice about your positioning there?’ or ‘How did that transition go?’ Help your child stay objective by focusing on specific, observable actions rather than emotions. Encourage them to identify one strength and one growth area per session. Avoid over-coaching; your role is to support their learning and help them connect video observations to practice priorities with their coach.
What are common mistakes to avoid when analyzing youth hockey video?
Don’t analyze every play or get lost in minor details, focus on patterns instead. Avoid blaming teammates or making excuses; focus only on what you control. Don’t skip the setup: poor camera angles or unclear footage waste review time. Never compare yourself directly to older or more advanced players; instead, track your own progress across multiple games. Finally, don’t review in isolation, share observations with your coach so they can reinforce insights in practice through targeted drills.