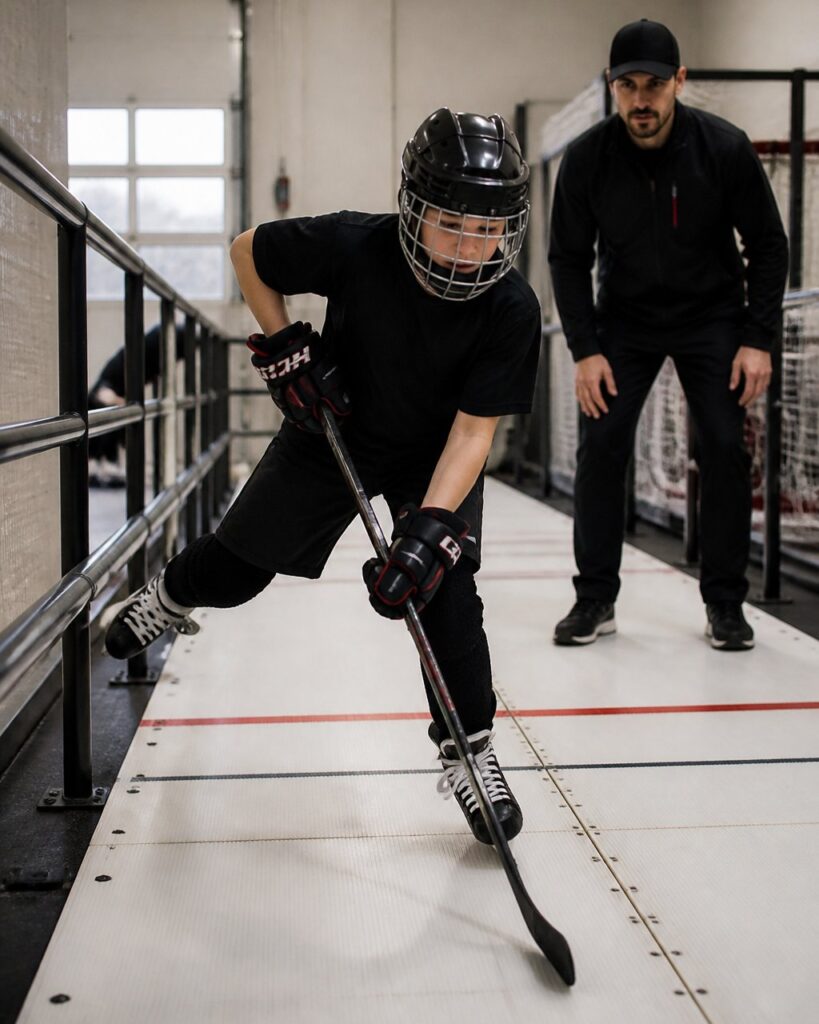
Last Updated: October 28, 2026
Quick Summary
Improve stride power by fixing technique before adding strength: fully extend the stride leg, hold a low stance with deep knee bend, and drive the hips through each push. Train single-leg strength and lateral power off the ice, then transfer it to game speed.
- Full extension means the stride leg locks out and the toe points back before the blade leaves the ice.
- Film yourself from the side and front, and if two or more checklist boxes are unchecked, technique work comes first.
- Train legs one at a time because skating is a one-leg-at-a-time sport, and measure each leg separately.
- Progress one variable at a time, whether load, reps, or speed, and never all three at once.
- Re-test broad jump, lateral hop, 10-meter sprint, and slide board push count every 4-6 weeks.
Table of Contents
- Why Stride Power Comes From Technique Before Strength
- Hockey Stride Technique: The Mechanics That Create Power
- How to Diagnose Your Own Stride: A Simple Self-Assessment
- Hockey Skating Stride Drills to Build Power On the Ice
- Off-Ice Hockey Skating Exercises for Leg Drive and Lateral Push
- Hockey Skating Treadmill Training: Building Repeatable Power
- Putting It Together: A Progressive Plan for Youth and Ringette Players
- Book Your Stride Assessment at Pro Stride Hockey
- Frequently Asked Questions
Why Stride Power Comes From Technique Before Strength
Most players chase stride power in the gym. They load up on squats and lunges, then wonder why the extra leg strength never shows up on the ice. The answer is technique. Skating stride power is the amount of force you put into the ice on each push, delivered in the right direction and at the right angle.
Strength without clean mechanics leaks sideways. You push hard, but the blade slips or the leg cuts short.
Here is the core idea. Power equals force times how well you direct it. Below, we break down the mechanics and drills.
Hockey Stride Technique: The Mechanics That Create Power
Good hockey stride technique rests on three things: full extension, a low stance, and hip drive. For a deeper guide on improving hockey stride with stronger edges and full extension, see our dedicated breakdown. Get those right and speed follows. Miss them and no amount of lifting fixes it.
Full Extension and Stride Recovery
Full extension means your stride leg locks out at the end of the push. The blade leaves the ice only after the leg is straight and the toe points back. Cut that push short and you lose most of your power.
Recovery matters just as much. Bring the leg back under your body fast, knee high, ready to push again. A slow recovery kills stride frequency.
Watch out: many young players swing the leg out to the side instead of driving straight back. That wastes force and slows the next push.
How to lock out the stride leg at home with a simple wall drill that trains the finish position.
Low Stance, Knee Bend, and Hip Drive
A low skating stance loads your legs like springs. Deep knee bend gives you more room to push. Hip drive turns that bend into forward motion.
- Keep your chest up and hips back, not folded over
- Bend knees so they track over your toes
- Drive hips forward and through on each push
- Keep your head steady and eyes up
The deeper the bend, the more powerful the push, as long as your back stays strong. Players who skate tall lose force at the ankle and knee.
How to Diagnose Your Own Stride: A Simple Self-Assessment
You can spot stride problems without a coach. Film yourself from the side and the front, then check these points. It takes ten minutes and tells you exactly what to fix.
- Does your stride leg fully straighten at the end of each push?
- Do your knees bend past 90 degrees in the low stance?
- Does your recovery leg come back under your hips fast?
- Do you push straight back, or out to the side?
- Is your left-right push symmetrical?
- Does your arm swing match your leg drive?
Two or more unchecked boxes means technique work comes first. This is where video analysis earns its keep.
Hockey Skating Stride Drills to Build Power On the Ice
These hockey skating stride drills train the push, the extension, and the recovery. Do them at low speed first, then add pace.
- Exaggerated push drill: Push fully out and hold the extension for a beat.
- Wide stride drill: Reach for maximum stride length on each push.
- Single-leg push drill: Push on one leg across the width of the rink.
- Crossover power drill: Drive hard through crossovers to build lateral power.
- Acceleration starts: Three hard pushes from a stop, then glide.
Keep reps short and sharp. Quality of movement beats volume every time. Ten focused reps teach more than fifty sloppy ones.
The stride formation release drill is a good at-home add-on for training the push and recovery off the ice.
Off-Ice Hockey Skating Exercises for Leg Drive and Lateral Push
Off-ice hockey skating exercises build the strength and explosive power that skating demands. The goal is not to become a gym athlete, it is to make each push harder, faster, and more repeatable on the ice. Focus on single-leg strength, hip mobility, lateral power, and core stability, and train the legs one at a time because skating is a one-leg-at-a-time sport.
The Exercise Menu
- Split squats: Single-leg strength in the glutes and quadriceps; the rear foot elevated version adds range.
- Romanian deadlifts: Hamstrings and hip drive, the muscles that finish the push.
- Lateral bounds: Lateral power and left-right symmetry.
- Skater jumps: Copy the push-off motion for explosive power.
- Slide board pushes: Leg drive and edge control without ice.
- Planks, dead bugs, and Pallof presses: Core stability so the low stance holds under load.
- Hip mobility work: 90/90 switches, hip airplanes, and adductor rockbacks to open the hips for full extension.
Sets, Reps, and How to Progress
Start with quality over volume. A common pattern that works for youth and ringette players:
| Exercise | Sets x Reps | Tempo / Note | Progress By |
|---|---|---|---|
| Split squat | 3 x 6-8 per leg | Slow down, drive up | Add rear-foot elevation, then load |
| Romanian deadlift | 3 x 6-8 | Hinge at hips, flat back | Add load, then single-leg version |
| Lateral bound | 3 x 4-6 per side | Stick the landing | Add distance, then continuous bounds |
| Skater jump | 3 x 5 per side | Explosive, sharp reps | Add hold on landing, then speed |
| Slide board push | 3 x 20-30 seconds | Low stance, full extension | Add resistance or duration |
| Core (plank/dead bug) | 2-3 x 20-30 seconds | Braced, no sagging | Add anti-rotation holds |
Progress one variable at a time, load, reps, or speed, never all three at once. Leave at least one full rest day between hard leg sessions, and keep power work (bounds, jumps) early in a session when you are fresh.
Groin, hip, and hamstring strains are the most common off-ice setbacks for skaters. Warm up for 8-10 minutes before power work, build adductor and hamstring strength gradually, and back off if a player feels a pull rather than muscle fatigue. Youth players should add volume slowly and never train through pain.
Measure It So You Know It Is Working
Strength and power gains are trackable without a lab. Record simple baselines at the start and re-test every 4-6 weeks:
- Standing broad jump distance, a proxy for horizontal push power.
- Single-leg lateral hop distance, left vs. right, flags asymmetry that shows up as a weak side on the ice.
- 10-meter sprint time off-ice, tracks acceleration.
- Slide board push count in 30 seconds, tracks stride frequency and conditioning.
A left-right difference of more than roughly 10 percent is a common flag to spend extra time on the weaker side. Track the numbers in a notebook or app so progress is visible rather than guessed.
A common mistake is training both legs together and skipping single-leg work. Skating is a one-leg-at-a-time sport, so train it that way, and measure each leg separately so the strong side does not hide the weak one.
Hockey Skating Treadmill Training: Building Repeatable Power
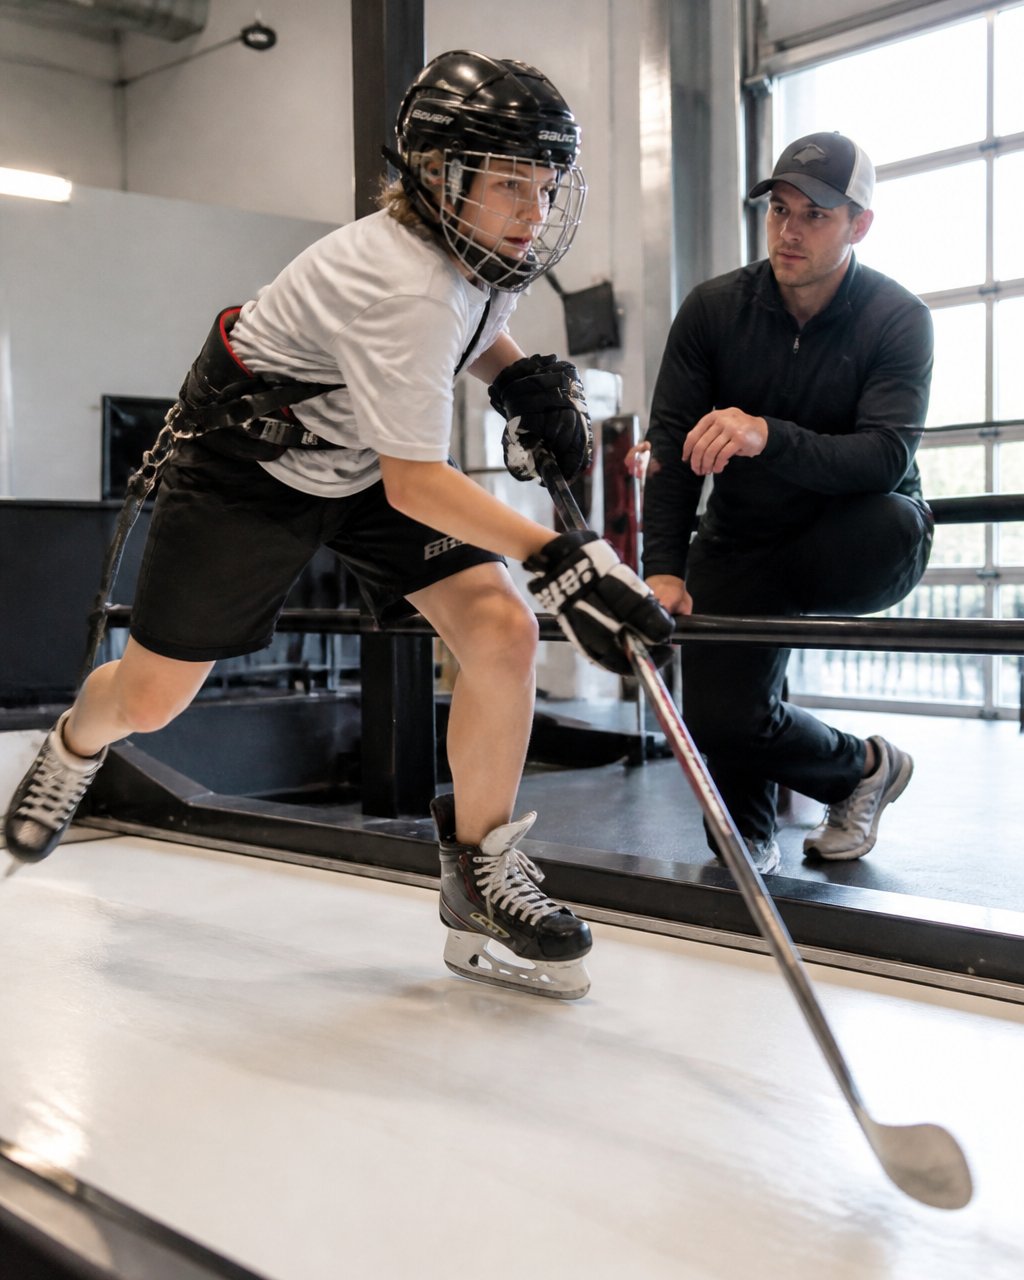
A skating treadmill lets you work on skating stride technique.
One player put it plainly: “I’d never been on a skate treadmill before and Adrienne taught me a lot about stride efficiency.”
See how skating treadmill training builds a more powerful stride.
Putting It Together: A Progressive Plan for Youth and Ringette Players
Build in phases: technique first, then strength, then power, then transfer to game speed. Do not skip ahead; clean mechanics make every later phase worth more.
The Four Phases
| Phase | Focus | Frequency | What to Watch | Move On When |
|---|---|---|---|---|
| 1. Technique | Full extension, low stance, recovery | 2-3x per week | Clean form at low speed | Video shows full lockout and fast recovery |
| 2. Strength | Single-leg and core work | 2x per week | Even left-right strength | Left-right hop difference under ~10 percent |
| 3. Power | Plyometrics, lateral bounds | 2x per week | Explosive, sharp reps | Bounds land cleanly and stay sharp when tired |
| 4. Transfer | Treadmill and on-ice speed | 2-3x per week | Power at game pace | Holds technique at full speed and under fatigue |
A Sample Week (Phase 2-3)
- Monday: Off-ice strength, split squats 3×6 per leg, Romanian deadlifts 3×6, core 3×20-30 seconds. Rest 60-90 seconds between sets.
- Tuesday: On-ice or treadmill technique, exaggerated push and single-leg push drills, 8-10 focused reps each, full recovery between reps.
- Wednesday: Rest or light mobility.
- Thursday: Off-ice power, lateral bounds 3×4-6 per side, skater jumps 3×5 per side, slide board 3×20-30 seconds. Power work first, while fresh.
- Friday: On-ice speed, acceleration starts and crossover power, short sharp reps.
- Weekend: Rest or a game. Never stack two hard leg days back to back.
Adjust by Age, Skill, and Position
- Younger players: Spend more weeks in phase one. Keep power work to bodyweight bounds and jumps, and cap sessions at 30-40 minutes.
- Beginners: Repeat phase one until the video checklist is clean before adding load.
- Advanced players: Shorten phase one, extend phase three, and add resistance to slide board and treadmill work.
- Ringette players: The same low stance and hip drive feed ring shooting.
- Position demands: Players who need explosive starts benefit most from acceleration and bound work; players who hold speed under pressure benefit from treadmill intervals at game pace.
Checkpoints, Not Guesswork
Re-test every 4-6 weeks: broad jump distance, single-leg lateral hop left vs. right, 10-meter sprint time, and slide board push count in 30 seconds. If a number stalls for two checkpoints, change one variable, usually add rest or drop volume, rather than adding more work.
For the full speed picture, see our guide on how to improve hockey skating speed.
Book Your Stride Assessment at Pro Stride Hockey
At Pro Stride Hockey, we pair athletes with coaches at a 2:1 ratio, cap sessions at four players, and use video analysis. Our skating treadmill and shooting lane support off-ice work on skating stride technique and shooting. Players and parents tell us: “His shooting and stride have improved so much.”
Get started with Pro Stride Hockey.
Frequently Asked Questions
What muscles are most important for hockey stride power?
The glutes, hamstrings, and quadriceps do the heavy work of the push-off, while the core transfers that force through your torso and the hip muscles drive full extension. Single-leg strength matters more than raw squat numbers because each push happens on one skate. Training lateral push and hip drive off the ice, alongside edge control on the ice, builds the stride power that shows up in acceleration and top speed.
What off-ice hockey skating exercises help improve stride power?
Focus on single-leg strength and explosive lateral work: lateral bounds, skater jumps, split squats, and slide board intervals. Add core stability work like anti-rotation holds so force transfers cleanly through your trunk. Keep quality of movement high and stop a set when form breaks down. Two or three short sessions a week, progressed gradually, give youth players enough stimulus without overload.
Can a skating treadmill help improve stride power?
A skating treadmill can be used to work on skating stride technique.
How often should hockey players train their skating stride?
Most youth and ringette players do well with two dedicated stride sessions a week, mixing on-ice drills, off-ice strength, and treadmill work, plus their regular team practices. Build in warm-up and recovery time and watch for left-right symmetry. Skill and position change the dose, so a coach who can see you skate should set the frequency rather than a generic template.
