Last Updated: November 7, 2026
Quick Summary
Off-ice ringette shooting practice lets players sharpen their release, aim, and power without a rink, using a driveway, garage, or basement. Repeated short sessions build the mechanics that carry onto the ice. Start with a stationary target and progress to moving starts and changing angles.
- Off-ice sessions allow far more shot repetitions than most ice schedules permit.
- Start with a stationary target 3 meters away and take 20 shots.
- Use a smooth, flat surface and a backstop that absorbs the ring.
- Run a 30-minute session three or four times a week.
- Track hits out of total shots to measure accuracy gains over four weeks.
Table of Contents
- Why Off-Ice Ringette Shooting Practice Builds Real Skill
- What You Need for Off-Ice Ringette Shooting Practice
- Mastering the Ringette Wrist Shot Step by Step
- Off-Ice Ringette Shooting Drills for Accuracy and Power
- Setting Up Ringette Shooting Targets Safely
- Building a Ringette Shooting Practice Routine at Home
- Start Your First Off-Ice Shooting Session This Week
- Frequently Asked Questions
Off-ice ringette shooting practice lets players sharpen their release, aim, and power without a rink. Pro Stride Hockey teaches these skills with a skating treadmill and a focus on proper shooting mechanics. The drills below work on a driveway, in a garage, or in a basement, and they build the habits that carry onto the ice. Explore hockey shot accuracy drills to see the approach Pro Stride Hockey teaches for building a quicker, more accurate release.
Why Off-Ice Ringette Shooting Practice Builds Real Skill
Off-ice practice gives players far more repetitions than ice time usually allows. A player can take dozens of shots in a single session at home. Repetition is what turns a deliberate motion into a reflex.
Good off-ice work also isolates technique. Without skating, defenders, and a moving puck, a player can focus on hand position, weight transfer, and follow-through. Those fundamentals then transfer to game situations.
- More shots per session than most ice schedules allow
- Clear focus on mechanics without game pressure
- Easy to track progress from one week to the next
What You Need for Off-Ice Ringette Shooting Practice
You do not need a full facility to get started. A small, safe space and a few basic items are enough.
- A ringette stick sized correctly for the player
- Ringette rings or a practice ring suited to dry surfaces
- A flat, smooth surface such as a driveway or indoor floor
- A net or a marked target on a wall or garage door
- Protective gear, including gloves and eye protection
Players who want more volume in a limited space can use a specialized shooting lane facility. Learn how an indoor shooting lane builds repetitions that carry into real scoring chances.
Mastering the Ringette Wrist Shot Step by Step
The wrist shot is the foundation of most ringette shooting. Break it into steps and practice each one slowly before adding speed.
- Set your stance. Keep feet shoulder-width apart, knees bent, and weight balanced.
- Place your hands. Keep the top hand near the grip and the bottom hand lower on the shaft.
- Load the stick. Shift weight to the back foot and let the stick bend slightly.
- Transfer weight. Push forward into the front foot as the ring is released.
- Release and follow through. Let the stick point at the target after the ring leaves.
A common mistake is rushing the release before weight is fully transferred. Slow the motion down first, then speed it up once the form feels natural.
Off-Ice Ringette Shooting Drills for Accuracy and Power
These drills build accuracy first, then power. Start with the basic version and add difficulty as the player improves. Players ready to focus on power can review shot power training for the next step.
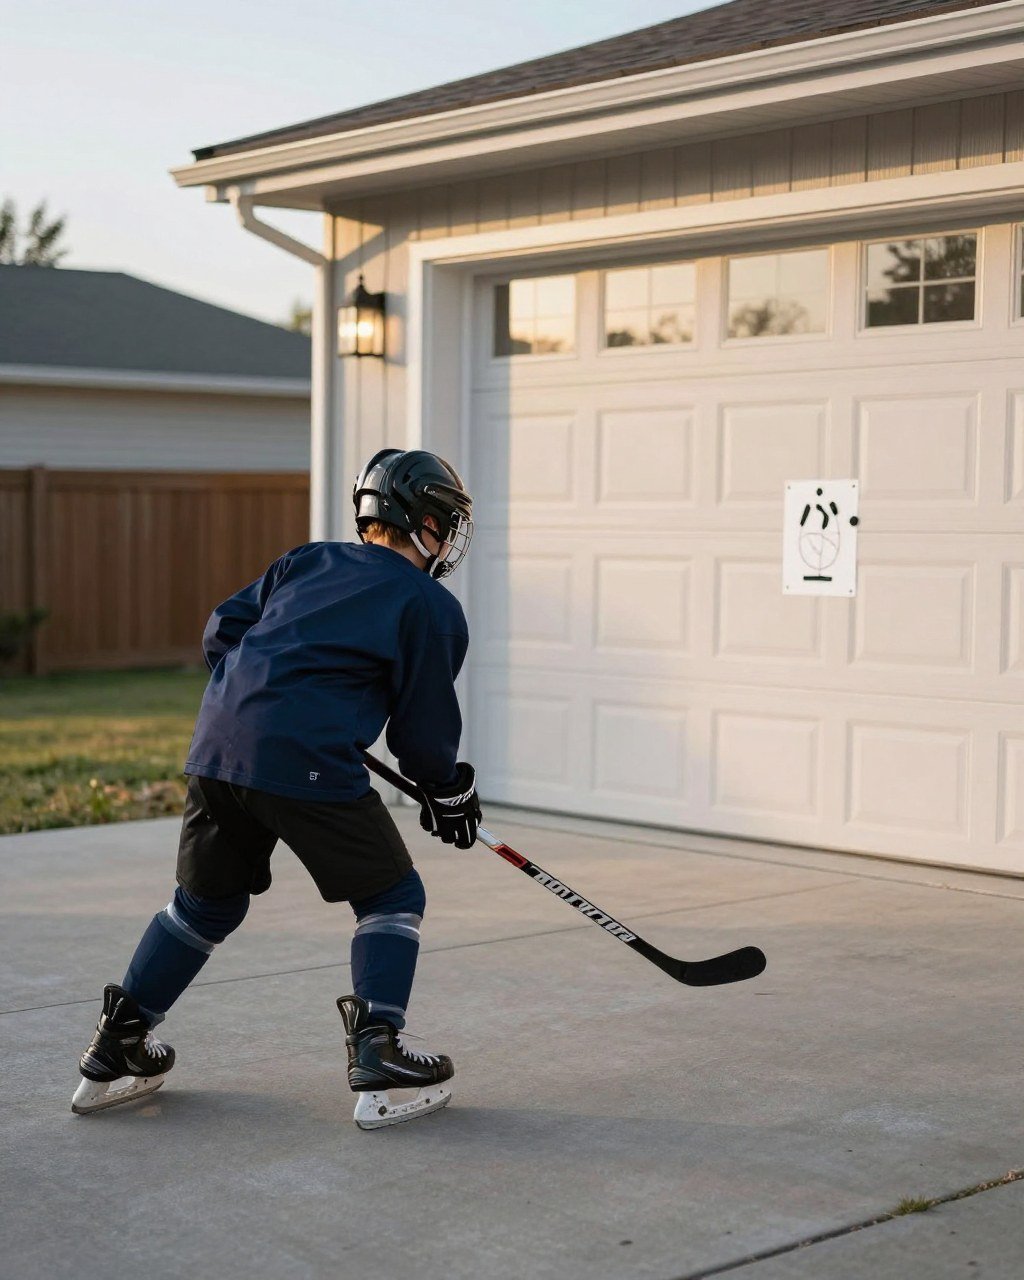
!Young ringette player practicing a wrist shot in a driveway at late afternoon
Progressive Drills for Beginners and Advanced Players
- Beginner: Stationary target. Aim at a marked spot 3 meters away. Take 20 shots, focusing only on hitting the target.
- Beginner: Slow motion. Repeat the wrist shot at half speed, emphasizing hand position and follow-through.
- Intermediate: Moving start. Take a step forward before each shot to add timing and balance.
- Advanced: Target rotation. Move the target to different heights and angles each round.
- Advanced: Power focus. Increase speed on each shot while keeping accuracy within a set zone.
Track hits out of total shots each session. Players who see their accuracy rise week over week usually stay motivated.
Each drill below builds accuracy or power in a clear progression, from beginner to advanced.
| Level | Drill | Focus |
|---|---|---|
| Beginner | Stationary target | Hitting a spot 3 meters away |
| Beginner | Slow motion | Hand position and follow-through |
| Intermediate | Moving start | Timing and balance |
| Advanced | Target rotation | Changing heights and angles |
| Advanced | Power focus | Speed while keeping accuracy in a zone |
Setting Up Ringette Shooting Targets Safely
A safe setup starts with the surface. A smooth, flat driveway or garage floor lets the ring slide predictably; rough concrete or gravel causes erratic bounces and wears down rings faster. Indoor floors work well if the space is clear and the surface is not slippery.
Choose a backstop that absorbs the ring rather than deflecting it. A padded net, a heavy blanket hung over a garage wall, or a purpose-built shooting tarp all work. Position the backstop so a missed shot cannot reach windows, vehicles, pets, or people. Keep the shooting lane clear of anything the player could trip over.
Mark the target with tape or chalk at a height and distance that challenges the player without forcing poor technique. A target too far away encourages players to lean and rush the release. Start closer and move it back as accuracy improves.
Ring and stick choice matters. Use rings suited to dry surfaces, since ice rings wear quickly off the rink. A stick sized correctly for the player’s height keeps the hands in the right position and prevents the bottom hand from sliding too low.
Protective gear is not optional. Gloves protect the hands from stick contact and stray rings, and eye protection guards against deflections. A helmet is worth considering for younger players or anyone shooting in a tight space.
For players with limited space or equipment, a few adaptations keep practice possible. A wall target with a soft backstop works in a small garage. A low-cost net or a marked spot on a padded wall replaces a full shooting lane. Short, controlled shots in a small area still build release and aim.
Watch out: a backstop that is too thin or a target placed near glass is the most common cause of damage and injury in home setups. Check the lane and backstop before every session, and move the setup rather than accept a risky angle.
Building a Ringette Shooting Practice Routine at Home
A complete off-ice session is more useful than a pile of isolated drills. The plan below runs about 30 minutes and fits a driveway, garage, or basement. Adjust the total time up or down, but keep the order: warm-up, technique, accuracy, power, cooldown.
Warm-up (5 minutes). Start with light movement to raise body temperature and loosen the shoulders, wrists, and hips. Stickhandle a ring side to side, then take 10 easy wrist shots at half speed. The goal is smooth motion, not power.
Technique block (8 minutes). Pick one cue for the day, such as weight transfer or follow-through, and take 20 slow repetitions. Pause between shots to reset stance and hand position. Slow, correct reps build the habit faster than fast, sloppy ones.
Accuracy block (8 minutes). Set a marked target and take four rounds of 10 shots. Count hits out of 10 each round and record the number. Move the target to a new height or angle between rounds so the player learns to aim rather than repeat one motion.
Power block (5 minutes). Take 15 shots at game speed while keeping the ring inside a set zone. Power without control does not transfer to games, so stop the block if accuracy drops sharply.
Cooldown (4 minutes). Finish with easy stickhandling and slow, full-range shots, then stretch the shoulders, forearms, and hips. Cooldown helps players recover and keeps the last reps clean.
A common pattern is to skip the warm-up and jump straight to hard shots. Watch out: cold muscles and rushed mechanics are how players groove bad habits and pick up soreness.
Run this session three or four times a week. Keep a simple log of date, focus cue, shots taken, and hits. After four weeks, compare the first and last accuracy rounds; steady gains are the signal to add difficulty, not more volume.
Start Your First Off-Ice Shooting Session This Week
Pick one drill from this guide and run it for 15 minutes today. Record how many shots hit the target, then try again next session. Small, steady gains add up quickly. Compare private and team training options to decide which format fits your goals.
Pro Stride Hockey offers personalized instruction with a 2:1 player-to-coach ratio and a specialized shooting lane facility. Book a session to see how focused training fits your goals.
Frequently Asked Questions
How can you practice ringette shooting off the ice?
Off-ice ringette shooting practice works best with a stable surface such as a driveway, garage floor or basement mat, a ringette stick, and rings or a stable target. Focus first on the wrist shot motion: stance, weight transfer, hand position and follow-through. Repeat slow, controlled shots before adding speed. Short sessions of 20 to 30 minutes, three or four times a week, build consistency more effectively than one long weekly session. Film a few reps from the side to check your technique.
What equipment do you need for off-ice ringette shooting practice?
You need a ringette stick of the correct length for your height, a supply of rings, and a safe, flat surface to shoot on. A net or a marked target helps you track accuracy. Protective gear such as a helmet and eye protection is recommended, especially when shooting against a wall or garage door. Shooting targets can be made from cones, tape or a folded blanket placed against a barrier. Keep the area clear of breakable objects and people before you begin.
How do you practice a ringette wrist shot at home?
Start with a stationary stance, placing your feet shoulder-width apart with your weight on your front leg. Keep your hands in the correct position on the stick and transfer weight into the shot as the ring leaves the stick. Follow through toward your target. Practice the motion slowly at first, then increase speed once the technique feels repeatable. Mark a target at a fixed distance and track how many shots land within it each session to measure progress.
How often should ringette players practice shooting off the ice?
Most young players benefit from three to four short shooting sessions each week, in addition to their regular on-ice training. Sessions of 20 to 30 minutes are enough to build repetition without causing fatigue or poor technique. Rest days allow the muscles used in the shot to recover. Keep a simple log of sessions, shot counts and accuracy so you can see improvement over several weeks.
