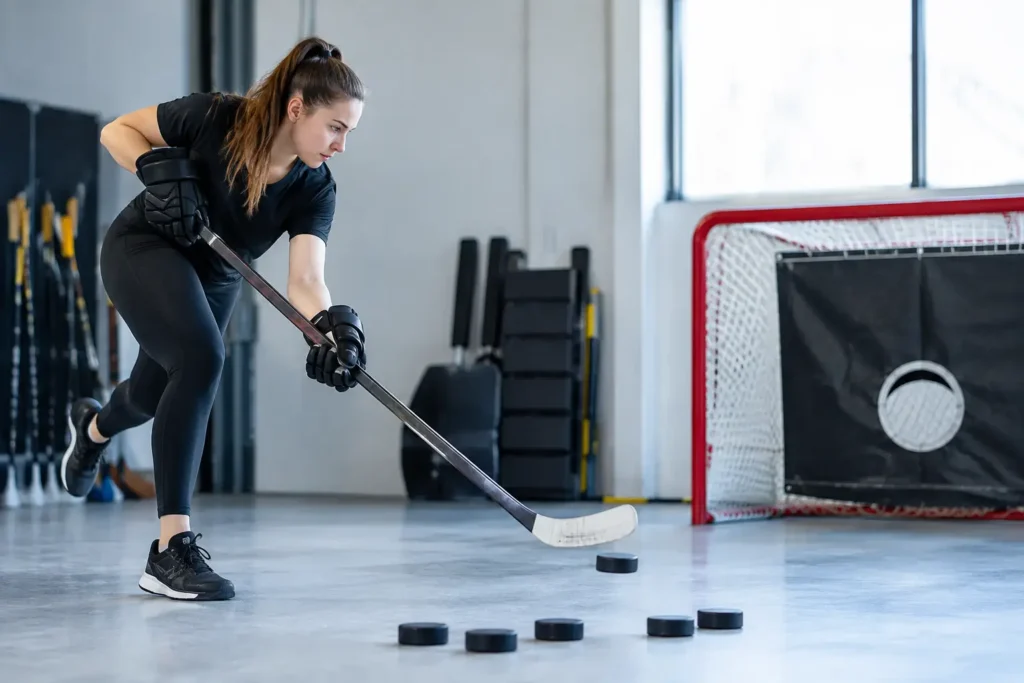
A shooter can hit the top corner alone on a clean shooting pad and still miss the net in a game. The difference is rarely effort. It is usually a breakdown in setup, puck position, visual focus, or decision-making speed. The best hockey shot accuracy drills train all four, helping players turn hard work into shots that force saves, create rebounds, and finish scoring chances.
For young players, accuracy is not about trying to pick corners on every puck. It starts with a repeatable release and the ability to recognize the best available target. For advanced players, the standard rises: hit a moving or partially covered target, change the release point, and shoot before a defender closes the lane.
Why Shot Accuracy Breaks Down
When a player misses wide, parents often hear, “Keep your head up,” or “Aim lower.” Those reminders can help, but they do not identify the cause. Accuracy is a full-body skill. If the feet are unstable, the hands tend to drift. If the puck starts too far forward or too far back, the blade will not contact it cleanly. If the player looks at the puck until the final moment, they may not see the open space around the goalie.
Start by watching where the puck goes. Shots consistently high often come from opening the blade too early or trying to lift the puck with the bottom hand. Shots wide can point to poor alignment through the hips and shoulders, or an inconsistent follow-through. Shots that lack pace may be accurate in practice but become easy saves because the player is not loading the stick efficiently.
That is why repetition matters only when the repetition is purposeful. A player who practices the same technical error 100 times does not build accuracy. They build a habit that becomes harder to correct.
Hockey Shot Accuracy Drills Start With a Target
A net without targets can encourage players to shoot quickly, but it does not always teach them to select a precise location. Add visible targets and give each repetition a job. The goal is not to make every shot difficult. The goal is to make the player aware of where the puck is supposed to go before it leaves the blade.
Four-Corner Calling Drill
Place four small targets in the net: high glove, high blocker, low glove, and low blocker. A parent, coach, or training partner calls a target just before the player receives or settles the puck. The shooter must identify the location, get their feet set, and deliver a controlled release.
Begin with stationary pucks and a wrist shot. Once the player can consistently hit the target, add a pass from the side or require a quick pull to the forehand before shooting. For younger athletes, use larger targets and celebrate clean contact and proper mechanics. For older players, shrink the targets and track results over a set of 10 shots.
The key is to avoid turning every rep into a rushed shot. Accuracy comes before speed. Then speed is layered onto a movement pattern that can hold up under pressure.
Post-to-Post Shooting
Many goals come from a puck that enters near the post, especially when a goalie is moving laterally. Set a target just inside each post, roughly six to 12 inches off the ice. Have the player shoot alternately to each side while moving the puck across their body.
This drill teaches a valuable scoring habit: shoot for available space, not simply the center of the net. It also exposes a common issue. If a player cannot hit low targets without dropping their chest or scooping the puck, their bottom-hand position and blade control need attention.
Use this drill with wrist shots first. Snap shots can be added when the athlete is able to move the puck, load the shaft, and finish through the target without losing balance.
Build Accuracy Through Better Mechanics
A precise shot begins before the stick touches the puck. Players need an athletic base, with knees bent and weight balanced through the inside edges of the feet. From there, the hands create separation: the top hand guides while the bottom hand drives the stick into the ice and through the puck.
Line-Up and Release Drill
Place a strip of tape or a straight visual line on the shooting surface from the puck toward the intended target. The player begins with the puck just behind the back foot, pulls it along the line, and releases toward a low target.
The line gives athletes immediate feedback. If the puck is pushed sideways, the release usually pulls wide. If the blade opens too early, the puck rises. The player should finish with their chest and stick following the intended shooting lane, rather than falling away from it.
This is also an effective drill for players who want a harder shot but are losing accuracy. More power is useful only when it stays connected to a stable body position. A clean, well-timed wrist shot that hits a corner is more dangerous than a heavy shot that misses the net.
Quiet Head, Active Eyes
Players hear “head up” constantly, yet the cue can be misunderstood. A shooter does not need to stare at the goalie throughout the entire release. They need to scan early, identify the target, then keep their head quiet as they execute.
Try this progression: the player looks at the target before touching the puck, receives the puck while keeping their chest pointed toward the net, then shoots to the called location. After the shot, ask a simple question: Where was the open space? This creates awareness without overthinking each rep.
For a younger player, one visual cue is enough. For a competitive U15 or junior prospect, add a defender stick, a screen, or a moving target to demand faster reads.
Add Movement Before Adding Chaos
Game shots are rarely taken from a perfect, still position. But players should not jump straight into complicated drills if their base mechanics are inconsistent. Progression matters.
Start with a stationary target shot. Move to a lateral puck pull. Then add a pass, a one-touch release, or a change in shooting angle. Finally, introduce a time limit, a defender stick, or a visual obstacle that forces the athlete to adjust.
A useful game-like drill is the three-puck sequence. Place three pucks in a line. The player shoots the first from the middle, pulls the second to the forehand before shooting low far side, and pulls the third to the backhand or changes the angle before releasing. Each puck should have a different target.
The benefit is not just volume. The athlete learns to reset their feet, find the puck, and make a new decision after every shot. That is much closer to a rebound chance or offensive-zone scramble than firing 30 identical pucks from the same spot.
Track Results Without Chasing Perfection
Measurement gives training direction. It also keeps athletes motivated when they can see progress beyond “I think I shot better today.” Choose one standard for a session: target hits out of 20, shots that hit the net under a time limit, or successful releases after a lateral move.
Do not measure everything at once. A player working on puck position may temporarily shoot slower. A player learning a quicker release may miss more during the first few sessions. That does not mean the change is failing. It means the athlete is adapting to a new movement pattern.
At Pro Stride Hockey, immediate video feedback can be especially valuable for this process. Players often feel that they are square to the net or loading their stick properly, then see a different picture on screen. Identifying that gap quickly helps coaches give a clear correction, and it helps athletes understand why the correction matters.
Make Practice Transfer to the Game
The strongest shooting sessions combine technical detail with confidence. Players should know what they are trying to improve, receive a specific cue, and earn repetitions that challenge them without overwhelming them.
Set aside focused time for shooting rather than treating it as a warm-up before another activity. Ten deliberate minutes with a target, a clear score, and quality feedback can be more productive than an hour of random pucks. Younger players may need shorter sets to keep their mechanics sharp. Older athletes can handle more volume, but only if their form remains consistent.
Accuracy is built one controlled release at a time. Train the hands, feet, eyes, and decision-making together, and the next open look will feel less like a guess and more like a scoring opportunity.