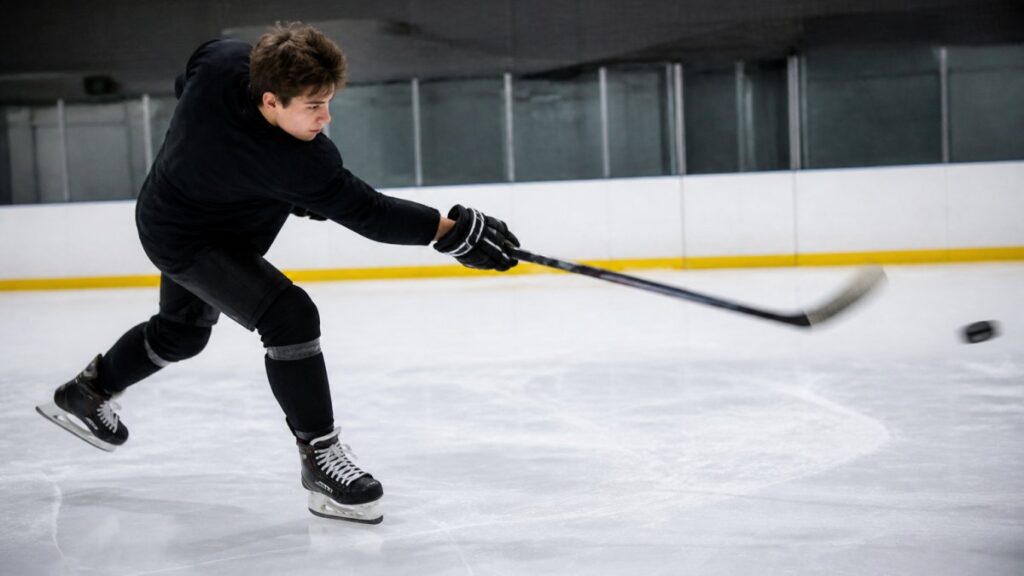
Table of Contents
- What You’ll Need Before You Start
- Step 1: Build the Kinetic Chain for Hockey Shot Power
- Step 2: Master Weight Transfer and Body Positioning
- Step 3: Find the Best Hockey Stick Flex for Power
- Step 4: Dial In Hand Position, Puck Contact, and Quick Release
- Step 5: Add Off-Ice Hockey Shooting Drills to Your Week
- Step 6: Build Hockey Core Training for Athletes Into Your Routine
- Step 7: Fix Common Biomechanical Errors With Video Analysis
- Frequently Asked Questions
Last Updated: October 4, 2026
What You’ll Need Before You Start
Learning how to increase hockey shot power starts with the right tools and a smart setup, no fancy rink or expensive gear needed. At Pro Stride Hockey, we teach that power comes from technique first, then strength.
Here is what you need before your first rep:
- A hockey stick with the right flex for your body weight
- A shooting pad or smooth surface to practice on
- 10 to 20 pucks
That is it. Stick flex, weight transfer, and hip rotation all matter more than raw muscle.
Step 1: Build the Kinetic Chain for Hockey Shot Power
The kinetic chain is the order your body fires muscles during a shot. Power starts in your legs, travels through your hips and core, and finishes in your arms and stick. Skip a link, and you lose force, like a whip whose handle moves first, then the tip cracks.
How the Lower Body, Core, and Upper Body Work Together
Your legs push into the ice, that force travels up through your hips, your core transfers it to your upper body, and your arms and stick release it into the puck. If your core is weak, the chain breaks; if your legs are slow, the shot dies.
- Legs: generate the first push
- Hips: rotate and add speed
- Core: transfer force between top and bottom
A common mistake is using only the arms. That gives you a weak, slow shot. Train the whole chain instead.
Step 2: Master Weight Transfer and Body Positioning
Weight transfer is the single biggest source of free power in a shot, and the thing most players get wrong. It is not just “shift from back foot to front foot,” but a timed sequence that must fire in order or the energy leaks out before it reaches the puck.
The Four-Phase Sequence
Think of the shot as four phases, each with a job:
- Load (back leg). Weight sits on the inside edge of your back foot. Knee bends. Hip and shoulder coil slightly away from the target. This is where potential energy is stored.
- Drive (back leg to front leg). You push the back foot into the ice and the hips begin to open toward the net. The front foot receives the weight, it does not just sit there.
- Transfer (hips through core). The hips rotate ahead of the shoulders. The core braces so the rotation does not collapse into a lean. This is the phase where most shots die, because the player’s upper body arrives before the lower body.
- Release (front leg to stick). The front leg is firm and stacked over the puck. The top hand pulls back, the bottom hand pushes forward, and the blade snaps through the puck.
If you can name which phase broke down, you can fix the shot.
Ground Reaction Force, Why the Ice Pushes Back
Ground reaction force is the push your skates get from the ice. The harder you drive the back foot down and forward, the more force returns up through your leg and feeds the hips. Two practical consequences:
- Sharpen your edges. Dull skates slip instead of push. A slip during the drive phase kills the whole chain.
- Push down and forward, not just forward. Players who only slide their weight forward lose the vertical component of the push. The drive should feel like a short, sharp stomp, not a glide.
Body Positioning Checkpoints
Use these as self-checks, not vague reminders:
- Shoulders square to the target at the release, not open early, not closed late.
- Chest over the puck until the release. Leaning back early is the most common power leak.
- Knees bent at load, extending through release. A locked front knee at release means the leg stopped contributing.
Most players lean back too early. Keep your chest over the puck until the release. This one fix adds noticeable snap to your shot.
Troubleshooting: What Your Shot Is Telling You
| Symptom | Likely Phase Failure | Fix |
|---|---|---|
| Shot goes high and wide | Leaning back at release | Rehearse release with chest over puck, no puck, 20 reps |
| Shot has no pop | Drive phase is a glide | Stomp the back foot; sharpen edges |
| Shot feels all arms | Transfer phase collapses | Brace core; slow the shot down until hips lead |
| Shot sprays left/right | Front foot not pointed at net | Reset stance; check foot alignment |
| Shot dies at release | Front knee locked | Keep knee soft through release |
Film yourself from the side and front: the side angle shows the lean, the front angle shows hip and foot alignment. Thirty seconds each tells you more than a hundred reps of guessing.
Age and Level Adjustments
- Youth players (roughly 8-12): Focus on the load and drive phases only. Do not add upper-body strength work yet, the sequencing has to be automatic first.
- Teens (roughly 13-17): Add the transfer phase with core bracing drills. This is when hip rotation becomes trainable.
- Adults: All four phases, plus strength work to support the drive. Adults often have the strength but skip the sequencing.
Weight transfer is not a tip. It is the engine. Get the order right and the rest of the shot has something to work with.
Step 3: Find the Best Hockey Stick Flex for Power
The best hockey stick flex for power depends on your weight and how you shoot. A stiffer stick needs more force to bend. A softer stick bends easier and stores more energy for lighter players.
Here is a quick guide:
| Player Weight | Recommended Flex | Best For |
|---|---|---|
| Under 45 kg | 40-50 | Youth players |
| 45-60 kg | 55-65 | Teens, smaller adults |
| 60-80 kg | 70-85 | Most adult players |
| Over 80 kg | 85-100 | Strong, heavy shooters |
A stick that is too stiff will not bend and you lose power; too soft and it bends too much and feels sloppy. Test your flex by leaning into the shaft, a small bend with moderate effort is your range.
Step 4: Dial In Hand Position, Puck Contact, and Quick Release
Hand position controls your shot’s accuracy and power. For a wrist shot, your top hand sits near the top of the shaft and your bottom hand grips lower. Catch the puck near the middle of your blade, too far back loses control, too far forward loses power.
- Keep your top hand strong
- Pull the bottom hand in as you shoot
- Snap your wrists at the release
Puck spin helps too. A spinning puck flies straighter and faster. Practice it with a toe drag into your shot.
Step 5: Add Off-Ice Hockey Shooting Drills to Your Week
Off-ice shooting drills build muscle memory faster than ice time because you can take ten times the reps in the same window. A player who shoots 100 pucks a day at home will out-shoot one who only shoots at weekly practice, not because of talent, but volume and repetition quality. The key word is quality: bad reps build bad habits, so every drill below has a focus cue.
The Core Drill Set
| Drill | Reps | Focus Cue |
|---|---|---|
| Wrist shot reps | 50 | Quick release, no wind-up |
| Snap shot drill | 30 | Short backswing, fast hands |
| Slapshot reps | 20 | Full body load and follow-through |
| Toe drag to shot | 25 | Puck spin and blade control |
| One-timer practice | 20 | Timing and hand position (partner or wall) |
That is 145 reps per session. If that is too much at first, cut each number in half and build up over three weeks. Volume without recovery is just fatigue.
Surface and Equipment Trade-Offs
The surface changes what you can train:
- Shooting pad (synthetic ice): Best for puck feel and release work. Pucks slide realistically. Downside: pads wear out and are not cheap.
- Smooth concrete or garage floor: Cheap and available. Pucks slide fast but erratically. Good for volume, bad for precision.
- Wood or sport court: Middle ground. Decent slide, less wear on the stick blade.
Stick blade tape matters more off-ice than on: it grips the puck better on synthetic surfaces and protects the blade from concrete abrasion.
Weekly Structure by Level
Beginner / youth (roughly 8-12):
- 3 sessions per week, 30-40 minutes each
- Focus on wrist shot and snap shot only
- No slapshot until the wrist shot release is consistent
Intermediate (roughly 13-17):
- 4 sessions per week, 45-60 minutes
- All five drills, with video review once a week
- Add one-timer work only after the snap shot is clean
Adult league:
- 3-4 sessions per week, 45 minutes
- Prioritize quick release and one-timers, adult games reward speed over raw power
- Slapshots are lower priority unless you play point on the power play
Dryland Training Schedule for Youth Players
Keep it simple. Three to four short sessions a week work well.
- Monday: wrist shots, 50 reps
- Wednesday: core and leg work
- Friday: snap shots and quick release
How to Know the Drills Are Working
Track three things, once a week:
- Release time, how long from the start of the motion to the puck leaving the blade. Film it. If it is not getting shorter, your release drill is not working.
- Accuracy at distance, pick a target, shoot 20 pucks, count hits. If accuracy drops while power rises, you are sacrificing control for speed.
- Consistency, are the misses clustered or scattered? Clustered misses mean a mechanical flaw. Scattered misses mean a focus problem.
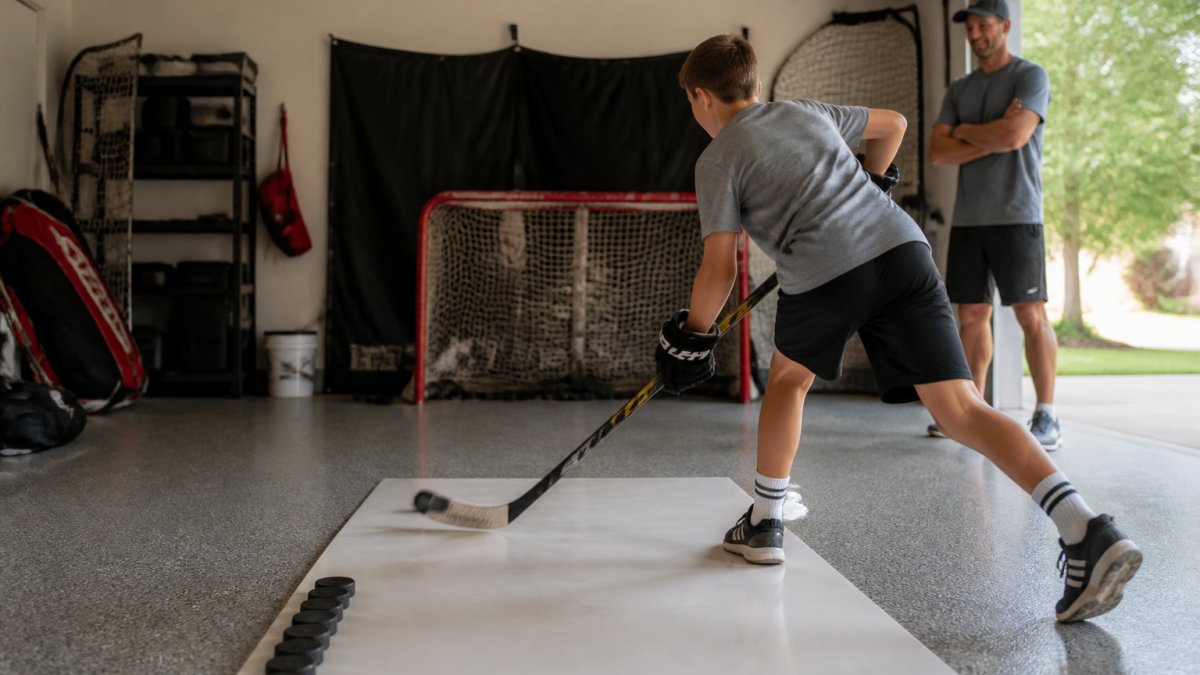
Practicing a bad habit 100 times a day makes it permanent. Film your shot every few weeks to catch errors before they stick.
Volume builds power only when the mechanics are clean. If your shot is breaking down, drop the rep count and slow down until the sequence is right, then add volume back.
Step 6: Build Hockey Core Training for Athletes Into Your Routine
Hockey core training for athletes is the glue that holds your shot together. A strong core transfers power from your legs to your stick. Without it, force leaks out and your shot goes soft.
Try these moves:
- Planks: 3 sets of 45 seconds
- Russian twists: 3 sets of 20
- Medicine ball throws: 3 sets of 10
Your core is the bridge in the kinetic chain. Train it like your shot depends on it, because it does.
Do these two to three times a week. Add hip rotation work too. Rotational power comes from mobile hips.
Step 7: Fix Common Biomechanical Errors With Video Analysis
Video analysis is the fastest way to spot shooting mechanics problems. You cannot feel a bad habit, but you can see it.
Record your shot from the side and front. Watch for these errors:
- Leaning back too early
- Using only your arms
- Weak core engagement
A coach can point out what you miss. At Pro Stride Hockey, our comprehensive video analysis and specialized shooting lane facility help players understand where their shot breaks down.
Age matters here. Younger players should focus on form first. Older players can add strength work once their mechanics are clean.
Frequently Asked Questions
What are the core mechanics of a powerful hockey shot?
A powerful shot starts with the kinetic chain: your legs push into the ice, your hips rotate, and your core transfers that force up through your shoulders and arms. Weight transfer from your back foot to your front foot loads the stick shaft, which snaps back and releases stored energy into the puck. Hand position, puck contact point, and follow-through all shape where that energy goes. Miss any link in the chain and your shot loses velocity, even if you train hard.
Does stick flex affect how much power I can generate?
Yes. The best hockey stick flex for power depends on your weight and shooting style. A flex rating that is too stiff means you cannot load the shaft, so the stick will not snap back and release energy. Too whippy and you lose control and accuracy. As a general rule, players under 45 kg often use a 40-50 flex, while players over 77 kg may need 85-100. Test different flexes in a shooting lane to see which one lets you feel the shaft bend and recoil.
How can off-ice training improve my on-ice shot power?
Off-ice hockey shooting drills build the muscle memory, core engagement, and rotational power you need on the ice. Dryland training with a shooting pad, weighted pucks, and resistance bands lets you repeat the shooting motion hundreds of times per week without ice time. Pair that with hockey core training for athletes, like rotational med ball throws and plank variations, and you will see faster puck velocity and a quicker release when you step back on the ice.
How long does it take to see real improvement in shot power?
Most players notice a difference in four to six weeks if they train three to four times per week with focused drills. The first changes come from better mechanics, like weight transfer and hand position, which can add velocity within days. Strength and rotational power take longer, usually eight to twelve weeks of consistent off-ice and on-ice work. Video analysis helps you spot errors early so you do not waste weeks practicing the wrong movement pattern.
Building real hockey shot power takes time, and most players plateau because no one shows them what to fix. If you want a faster path, Pro Stride Hockey offers personalized coaching with a 2:1 player-to-coach ratio, advanced video analysis, and a specialized shooting lane facility. Our partnership with the Tim Turk training program gives athletes proven guidance to boost power, accuracy, and confidence. Book Now with Pro Stride Hockey and start scoring with a shot that goalies fear.